Portfolio

Showing posts with label Photography. Show all posts

Monday, 6 October 2014

Adding colour filters in less than a minute

Applying filters as easy as Instagram? Introducing, Alien Skin Exposure. Ever since I discovered Alien Skin, most of my photos have been edited through this programme just because it is so easy and the variety of filters makes editing so enjoyable.

I am currently using Alien Skin Exposure 4, but Exposure 6 is out! Click here to download the free trial: https://app.alienskin.com/downloads/

So how does Alien Skin work?
This is an image that I shot on my GoPro. The puppy is really cute, but due to poor lighting, the image looks flat and slightly blur.
1. When you download and install Alien Skin, it appears as a plug-in under your 'Filter' list in Photoshop.
2. Opening the application, you can see that it offers an array of filters (on the left), as well as specific control (on the right). Alien Skin gives you hundreds of colour filters.
3. As well as Black & White filters.
4. After selecting a filter, you can still make further adjustments. I wanted to add more vignetting to increase the focus on the puppy. You can do so under the 'Age' tab.
5. Also, to make the image sharper, you can do so under the 'Focus' tab.
6. And there you have it! Adding a colour filter in less than a minute. 

Alien Skin provides you with hundreds of filters. Download the free trial and find which filters are your favourite! Another big benefit of using Alien Skin is that it allows you to play with film effects. Therefore, if you are interested to go into film photography and are wondering which camera to purchase, Alien Skin gives you a visual representation on your current photos! Happy editing!

Tuesday, 30 September 2014

Essential tools to save your photo (PART 2)

I believe this tutorial will interest a lot of you - How to remove pimples / smudges / dirt from your face? Introducing the Patch Tool.


How do I use this tool:

1. Select the Patch Tool.

2. Draw out or circle the region that you wish to be 'patched' up.

3. Click and drag this region to another area that you wish to patch from. E.g. for removing pimples, I will click and drag to an area on the face which is clear and clean. Make sure you select the "Source" option (refer to the red arrow). For those who are curious to know what happens if you select the "Destination" option, try it out and let me know!

4. Your pimples are gone.

You are welcome.

Friday, 26 September 2014

Essential tools to save your photo

Have you ever captured a beautiful moment, but the photo turned out too dark? 
Introducing, Levels. The Levels tool adjusts brightness levels through 3 components: Image shadows, Midtones and Highlights. This allows you to edit the colour balance and tonal range of an image.
Adapted from: http://helpx.adobe.com/photoshop/using/levels-adjustment.html
So how do I use the Levels tool:

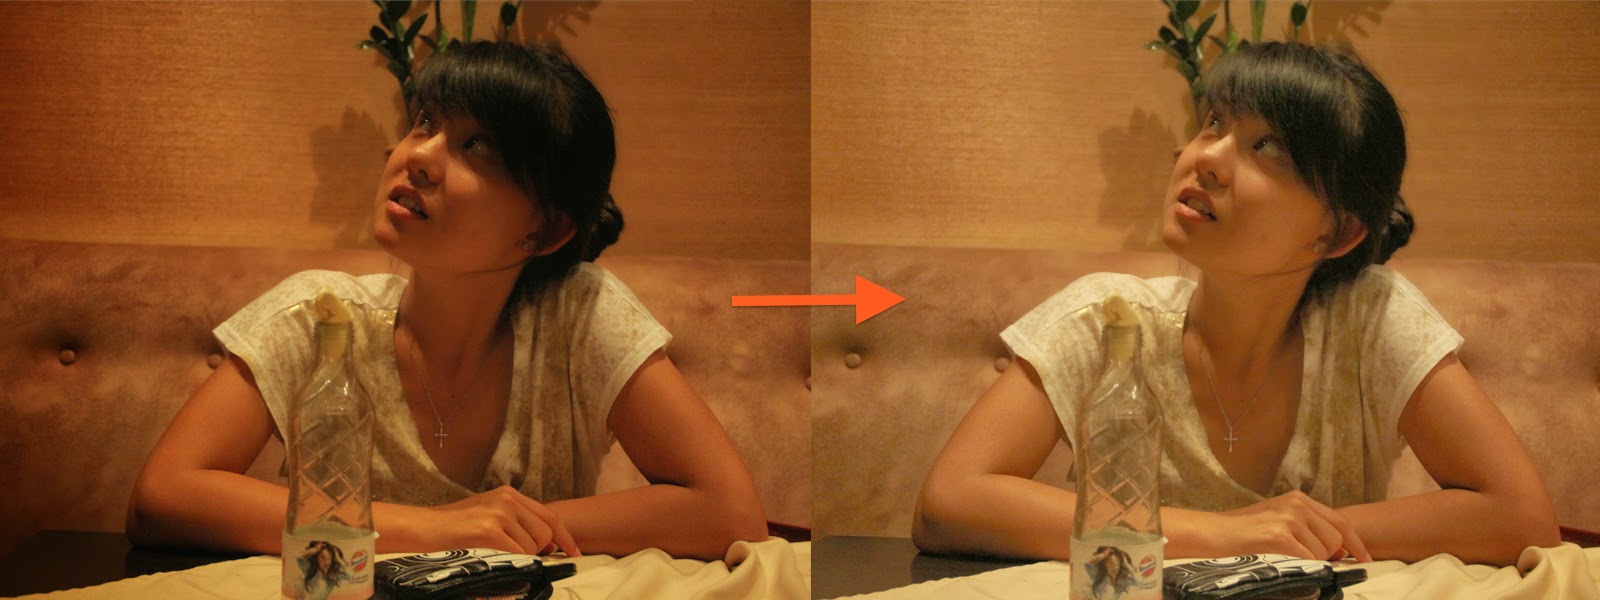
1. As you can see, this image is too dark. 


2. Select the tool

3. The image histogram is shown.

4. Sliding the Midtones and Highlights brightens the image.

 5. You can see that the Levels tool provides you with a lot more control in adjusting your image tones.

6. Here is a comparison between a general increase in Brightness and an adjust using the Levels tool.

Wanna know how to remove pimples? Stay tuned to next week's tutorial!


Saturday, 6 September 2014

Will it blend?

Disclaimer: this may not be the proper 'textbook' way of learning, but I will attempt to elaborate on these two important concepts as how it was taught to me!

As I mentioned in my first official post, Photoshop consists of layers. However, what makes it even more interesting, is Blending.

The Blending option provides you with different modes to combine your active layer with the layers below. These are the Blend Mode Groups provided:
Adapted from http://photoblogstop.com/photoshop/photoshop-blend-modes-explained
So how can I make use of Blending?

Shown below is the original photo. It feels a little flat... I would like to add some effects to it.

1. I google image searched for 'Colourful Light Bokeh' and found some nice designs.

2. Copy-paste it into your image.

3. Expand the image so that it covers the photo.

4. I selected the "Overlay" option.

5. I felt that the blending result was a little too harsh, hence I reduced the opacity of the layer to 50%.

And we're done! With just a simple selection of blend modes, your final photo can be a lot more interesting.


Go ahead and experiment for yourself! This is one of my favourite examples!
The "blood" or "red wine" spilled on the book is actually just another layer, blended onto the photo.

Let me know how it goes! 
Do comment or email me at samleejj@gmail.com if you have any difficulties.


Friday, 5 September 2014

Introduction: Understanding Photoshop is a piece of cake

Welcome to my first post of Photosythesize! Before I begin, here's a very brief explanation of Photoshop and I hope this illustration will help you to understand. For full tutorials, you may visit the official Photoshop website at http://tv.adobe.com/show/understanding-adobe-photoshop-cs6/.

Photoshop is a powerful digital image editing software, that is achieved through layers. When you open an image in Photoshop, this becomes the 'Background' layer. Next, as you make edits to the photo, each edit is essentially another layer placed above the 'Background' layer.

Therefore, imagine that your main image is the base layer of your cake, and each edit that you make is like adding another layer of sweet sugary goodness, enhancing the overall flavour of your product! (Refer below for a visual explanation) 


As how I have illustrated, you can see that my edits on the above image are in layers. (Refer to the panel at the bottom right corner). Above the background layer, I have added 'Duplicate layer' for my edits, 'Masking Layer' for a colour filter, added a Straight Line shape and added text etc.


Also, Photoshop has a option for you to select the blending mode of each layer. Simply click the box in the red circle, and select your preferred blending option from the list.


This blending option will be further explained in future tutorials. Stay tuned for more!

Do leave a comment or share with me your thoughts about anything related to Photography & Photoshop. Alternatively, you can email me at samleejj@gmail.com.